An efficient way to build your serverless microservices. Part 2. Development in the Cloud.
This article guides developers through the deployment and live coding capabilities of AWS SAM
Series
An efficient way to build your serverless microservices. Part 1. Local Development
An efficient way to build your serverless microservices. Part 2. Development in the Cloud
An efficient way to build your serverless microservices. Part 3. CI/CD with AWS SAM
Introduction
This part describes the deployment process and live coding in the cloud environment.
Back to the Cloud
You are ready to deploy your app with complex logic that uses DynamoDB indexes, S3 buckets, and SES to send emails and SNS for SMS!!! But how to debug all these services in the cloud? There are two options.
Local access to cloud resources
One option is to configure aws cli with your credentials that have permission to run all these services and invoke local lambda with npm run local-run or launch the server with npm run local-api. This step is "good enough" to debug your services implementation. But it's not enough to mark your code as ready to production.
The main drawback of a local run of your lambda function is absents of IAM role permissions enforcement. This is because your local lambda uses your credentials to access third-party services, not permissions defined in the Cloudformation template.
Deployment to the cloud
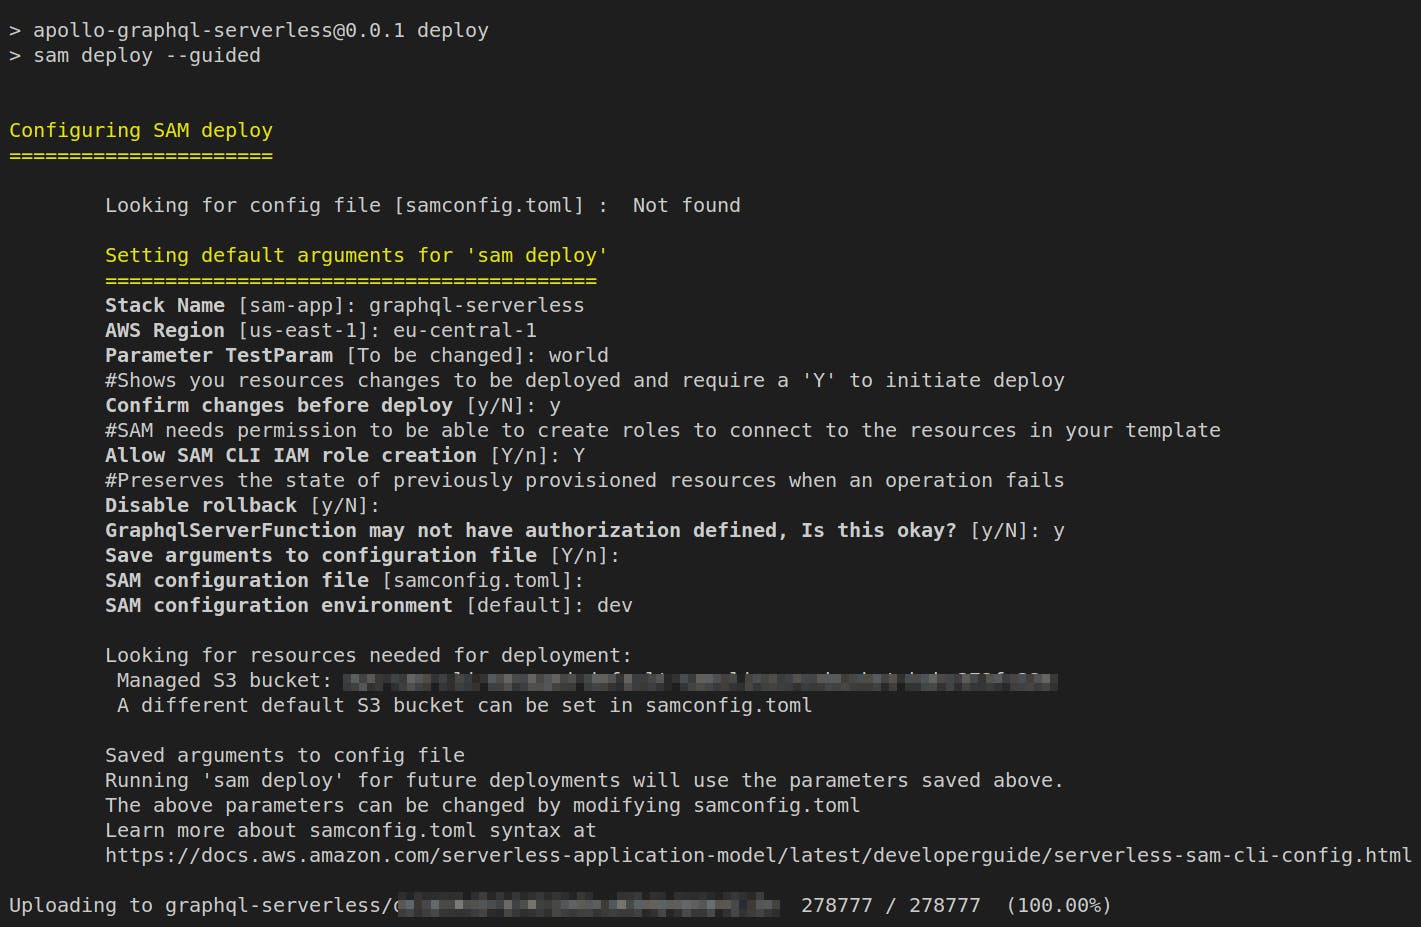
The better option is to deploy your lambda to the cloud and debug it in a production-like environment. To do this you can run npm run build && npm run deploy. If your run deploy command for the first time, it will guide you through the steps to deploy your functions. The result of this guide will produce samconfig.toml file. Sample toml is
version = 0.1
[default]
[default.deploy]
[default.deploy.parameters]
stack_name = "graphql-serverless"
s3_bucket = "aws-sam-cli-managed-default-samclisourcebucket-xxxxxx"
s3_prefix = "graphql-serverless"
region = "eu-central-1"
confirm_changeset = false
capabilities = "CAPABILITY_IAM"
parameter_overrides = "TestParam=\"world\""
image_repositories = []
Fields in the file:
version: This is the version of the AWS SAM CLI configuration file.
stack_name: This is the name of the CloudFormation stack that will be created or updated by the deployment.
s3_bucket: This is the name of the S3 bucket that will be used to store the deployment artefacts.
s3_prefix: This is the prefix for the S3 key that will be used to store the deployment artefacts.
region: This is the AWS region where the stack will be deployed.
confirm_changeset: This specifies whether the changeset should be confirmed before executing the deployment.
capabilities: This is a list of capabilities that are required to create the stack.
parameter_overrides: This list of parameter values will override the default values specified in the CloudFormation template.
image_repositories: This is a list of container image repositories that will be published
The most valuable part is headers and parameter_overrides toml [default] [default.deploy] [default.deploy.parameters] Headers define environment dev/staging/prod or default :). Next comes the command, in our case, deploy and its parameters Another where powerful part of toml file is parameter_overrides parameter to set custom values for the Parameters of your template based on the environment. You can pass the environment to deploy command via --config-env key.
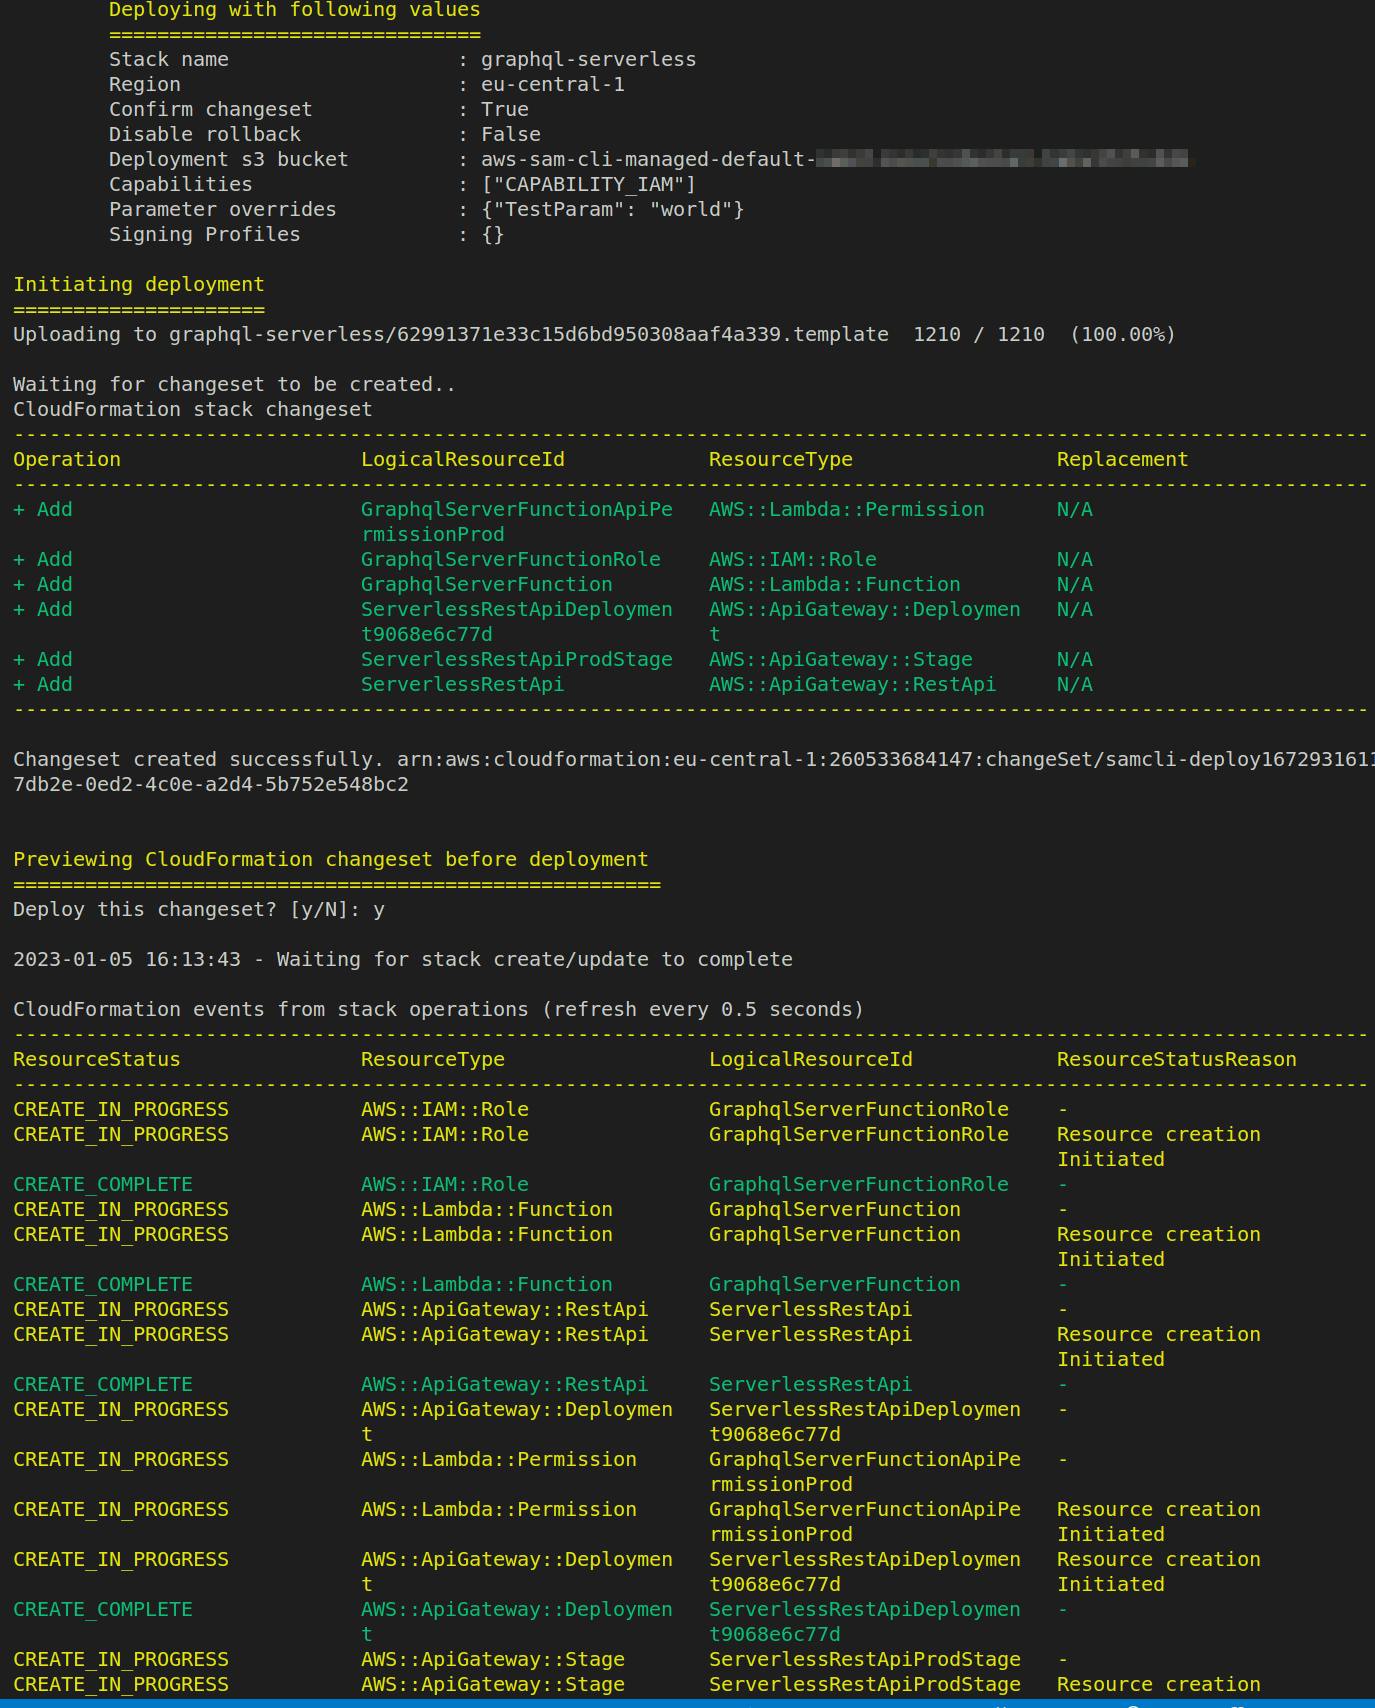
Sample output is


As a result, you have a publicly accessible URL to query your Lambda function.
Warning!!! Your API Gateway does not have any authentication layer at this moment
You can query you GraphQL server
curl --request POST
--url https://xxxxxxxx.execute-api.REGION.amazonaws.com/Prod/graphql
--header 'Content-Type: application/json'
--data '{"query":"query Test {state}"}'
Congratulations!!! Your code was deployed to the Cloud
Live coding in the Cloud
But still, you found a bug in your code and redeploying is a long and painful procedure. Therefore, the improvement of Dev UX comes with three features. The first one is sam sync (npm run cloud-watch) command that syncs only lambda code without full stack redeployment. Be aware that any changes to template.yaml Cloudformation template will require longer redeployment. But still, you want to check your console.log output - in this case, you can need to use sam log (npm run cloud-logs) command to get the latest logs. If your code base becomes too complicated, you may want to enable sourcemaps. With AWS SAM it's straightforward. There is a need to modify your ColoudFormation template with these lines
  GraphqlServerFunction:
    Type: AWS::Serverless::Function
    Metadata:
      BuildMethod: esbuild
      BuildProperties:
          Target: "es2020"
          Sourcemap: true
      Properties:
and if ./src/resolvers/state.js code changed to
export const getState = () => {
       const state = `Hello ${text}`;
       console.log("State value:", state);
       // throw error on random invocation
       if (Math.random() > 0.5)
           { throw new Error("This is an random error");
        }
       return state;
}
and sync these changes to the Cloud and then run the query against your Graphql endpoint. An error message with the exact line number should appear after a couple of calls:
{
  "errors": [
    {
      "message": "This is an random error",
      "locations": [
        {
          "line": 1,
          "column": 13
        }
      ],
      "path": ["state"],
      "extensions": {
        "code": "INTERNAL_SERVER_ERROR",
        "stacktrace": [
          "Error: This is an random error",
          "    at fieldResolver (/tmp/tmplhmgru52/src/resolvers/state.js:8:11)",
          "..."
        ]
      }
    }
  ],
  "data": {
    "state": null
  }
}
`
All these features come out of the box with AWS Serverless Application Model (SAM).
Summary
AWS Serverless Application Model (SAM) gives many tools to improve developer user experiences while developing serverless microservices. Among these features are:
support of the multi-staging deployment of microservices using
tomlconfiguration filesupport live code synchronization with the AWS
out-of-box support for source maps feature for NodeJS
support direct access to Lambda logs from the command line
This article references the code repository github.com/javatask/graphql-serverless and illustrates all these features. Including Jest configuration.
The first part of this series focused on local development and testing of your business logic blog.javatask.dev/an-efficient-way-to-build..

