


Introduction
In this article, I aim to empower individuals who face limitations in using publicly hosted Large Language Models (LLMs) by showing them how to run local Generative AI chatbot. The guide is part of the AI Unleashed series.
In previous parts, I introduced the overall architecture and a guide for running local LLMs. This article uses Ubunut 22.04 on WSL2 and Ollama as prerequisites to configure the local chatbot.
It's best to start the article with the result:

Let's get started!
Chatbot installation guide
As the world of AI continues to expand, having tools like ChatGPT at your fingertips is becoming increasingly valuable. This guide will walk tech enthusiasts and professionals wanting to run a ChatGPT-like chatbot locally on a Windows 10 or 11 machine through the process. We'll be leveraging the power of Ubuntu 22.04 on Windows Subsystem for Linux 2 (WSL2) and installing Ollama, a framework for running large language models like Meta Llama2.
I will use the Ollama Web UI project with an MIT License in this article. I highly encourage you to support Timothy - this great project's author!
I intentionally use a non-container approach to deploy the chatbot in this guide. I chose this due to dependencies on external Ollama, simplicity in supporting GPU-enabled workloads, and the straightforward way of upgrading your local chatbot. Containers are not always the way to go ;)
Step 1: Installing NodeJS on Ubuntu
Installing Node.js 20 can be done similarly:
Open Terminal
Install Node Package Manager: GitHub - nvm-sh/nvm: Node Version Manager - POSIX-compliant bash script to manage multiple active node.js versions:
curl -o- https://raw.githubusercontent.com/nvm-sh/nvm/v0.39.7/install.sh | bashNote. If you don'y have
curlcommand install it viasudo apt update && sudo apt install curlInstall Node.js: Use the following command to install Node.js:
nvm install 20Verify Installation: After installation, check the installed version of Node.js:
node --version
Step 2: Installing Ollama-Web
Ollama-web provides a user interface to interact with the Ollama model garden. Follow these steps to launch the web interface:
Clone the Ollama-Webui repository:
 git clone https://github.com/ollama-webui/ollama-webui.git
 cd ollama-webui/
Copy the required
.envfile:cp -RPp example.env .envBuild the frontend:
 npm i
 npm run build
Serve the frontend with the backend:
 cd ./backend
 pip install -r requirements.txt -U
 sh start.sh
For more information, refer to the Ollama-web GitHub page.
Step 3: Download the Model and use IT
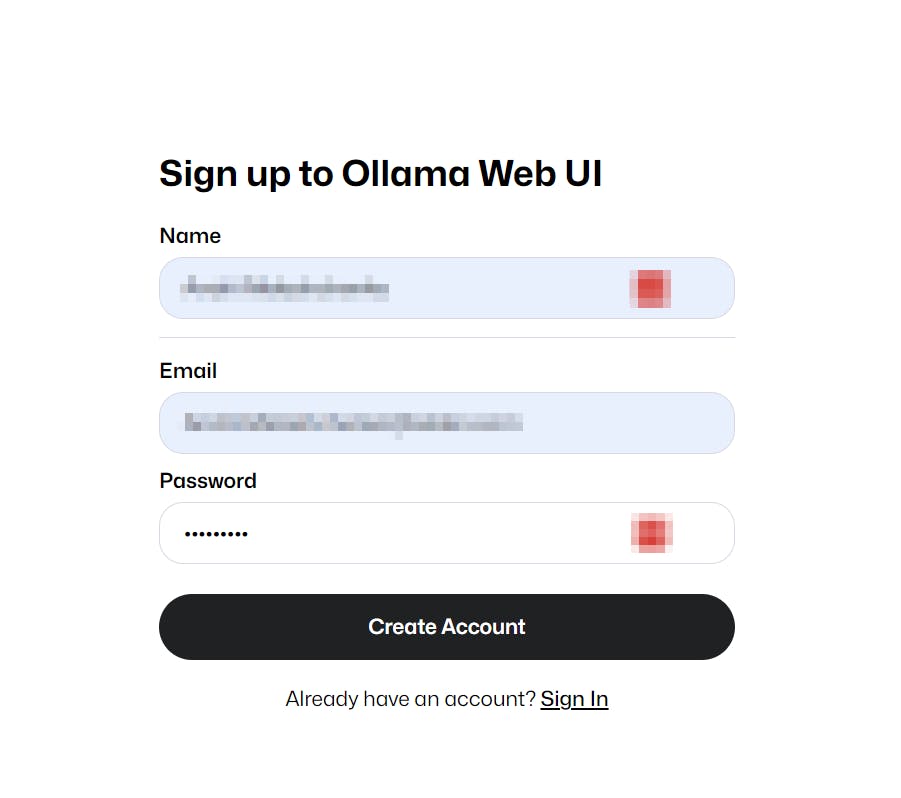
Open your browser `http://localhost:8080/`. During the first load, you will be asked to create a user. This first user will have SuperAdmin access.
It's not over yet - you need to download your model. Click on the gear icon, insert llama2:7b a model name into the Pull model input and click the green button. Wait...
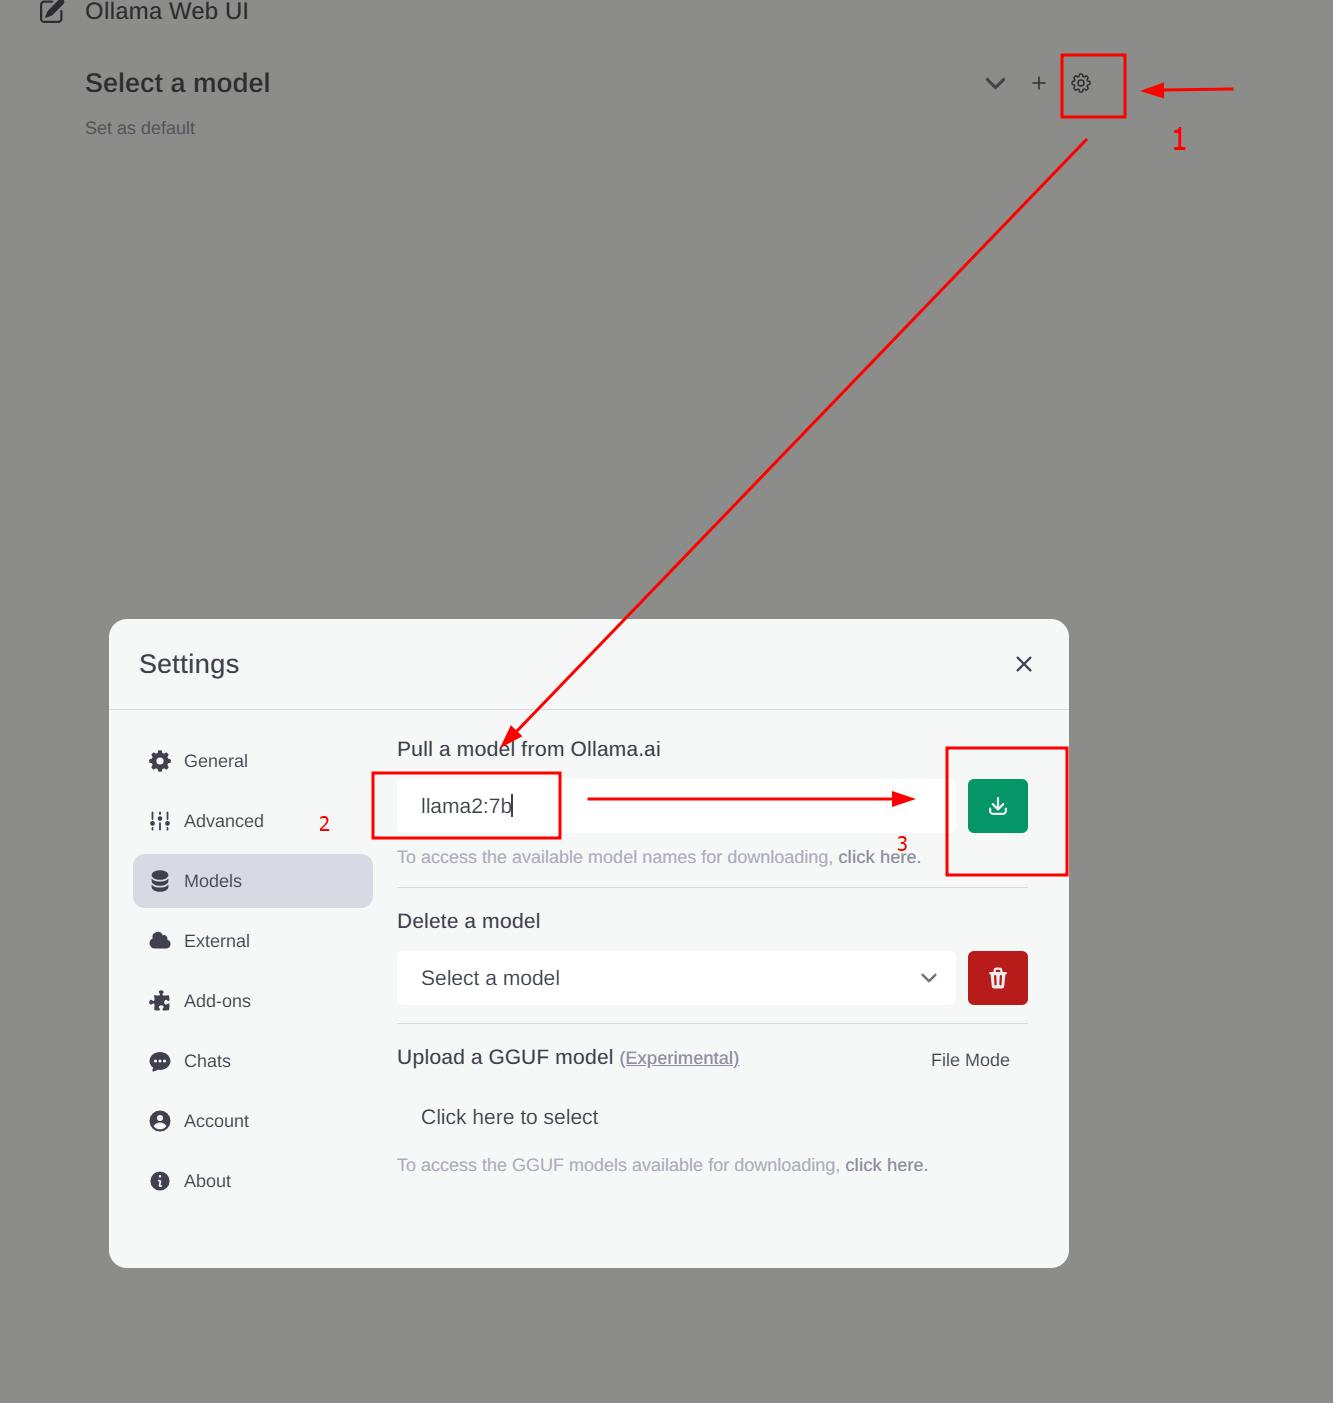
After successful download your model questions.

Model Garden
Ollama offers a lot of LLMs for you - look what it offers - library (ollama.ai)!
Conclusion
In this tutorial, we've set up a local AI chatbot using Ubuntu 22.04 on the Windows Subsystem for Linux 2 (WSL2) and the Ollama framework. We've covered the installation of NodeJS on Ubuntu, the setup of Ollama-Web, and how to download and utilize the AI model. This guide is intended to empower those who might encounter restrictions when using publicly hosted Large Language Models by giving them the tools to run their local Generative AI chatbot.